
BQuant [3] - Opening Blog Examples
Overview
In this post, we’ll create a Custom Environment with a required package, launch a Project with the Custom Environment, and clone the BQuant Examples used in this Blog series.
Custom Environments
BQuant Enterprise runs in the cloud. BQuant projects run on a separately provisioned virtual machine, each preloaded with software, including Jupyter Lab, python, and various Python packages, including Sybil.
Software can be added to the virtual machine at runtime, preferably via Custom Environments. Custom Environments allow you to install anything from conda-forge or Bloomberg’s private channel.
Custom Environments are both necessary and helpful. They’re necessary because certain Jupyter extensions must be installed before running Jupyter, so any packages providing extensions must be loaded into a Custom Environment. They are helpful because they allow standardization of environments, so everyone on a team works from a common starting point. They’re also necessary when publishing environments to other users to ensure they have the right packages.
There’s a bit of a delay (a few minutes) the first time you run a Custom Environment, but subsequent runs will be much quicker. Custom Environments are also versioned, so you can test a change to the Custom Environment without breaking other developer’s work.
(Optional) Run Time Installation
Not all packages need to be installed in a Custom Environment. You can install packages at runtime from either of the two major package repositories out there:
- Conda-Forge, using
%package install <module> - Python Package Index (PyPI), using
%pip install <module>
Bloomberg recommends Conda-Forge, which provides a larger universe of non-Python packages. For development tasks, pypi / pip is quicker and more comprehensive when it comes to pure-Python packages. Conda-Forge includes more than just Python libraries and is good for multi-user environments and installing non-Python system utilities. Custom Environments use Conda-Forge and are your only option for pre-loading software into a BQuant project.
For BQuant, the distinction doesn’t matter. It’s a single-user environment where you’re primarily installing Python packages. At runtime, you can use either %package install <module> (using Conda-Forge) or %pip install <module> (using PyPI).
For a discussion of Conda vs PyPi, this Reddit post is helpful.
Step 1: Create Environment
Creating a Custom Environment is straightforward:
- Launch
BQuant Server<go>from Terminal - Click on Environments -> New Environment
 Fig 1: Creating a Custom Environment
- Enter an Environment Name:
Bqnt Blog - Search the Available Packages, Select nbappinator*, and click
Add - This adds nbappinator to Selected Packages
- Click Solve, which searches for and resolves all the dependencies
- When Solving is complete, click Save
* nbappinator is our (Iqmo’s) Notebook development package. We’ll discuss it in later posts, but for now, it also pulls in packages needed to run the examples.
* * Some examples use other libraries, like xgboost and scikit-learn, that aren’t included here. We’ll install these at runtime.
Step 2: Launch Project
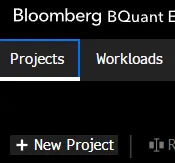
- Click New Project
- Enter a Project Name: BQuant Blog Examples
- Select the Custom Environment that you created in Step 1: Bqnt Blog
- Click Create and Launch
- Wait a few minutes, and grab a cup of tea since this is the first time opening the Custom Environment
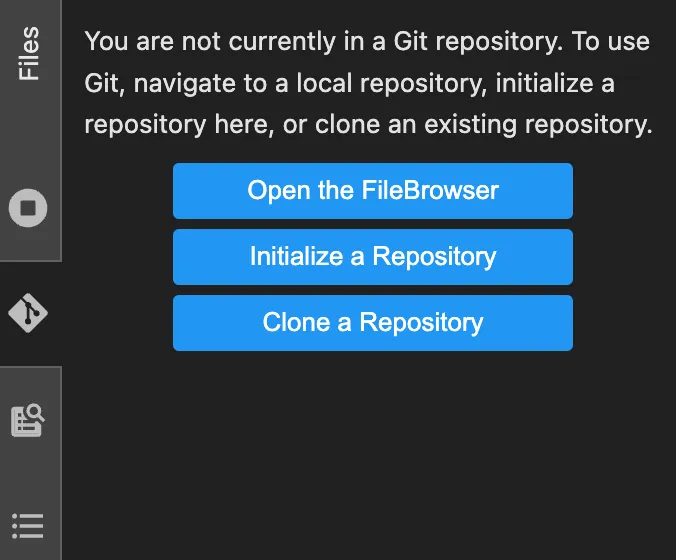
Step 3: Open Clone Dialog
Click the Git button (link? Menu?) on the left, and click “Clone a Repository”.
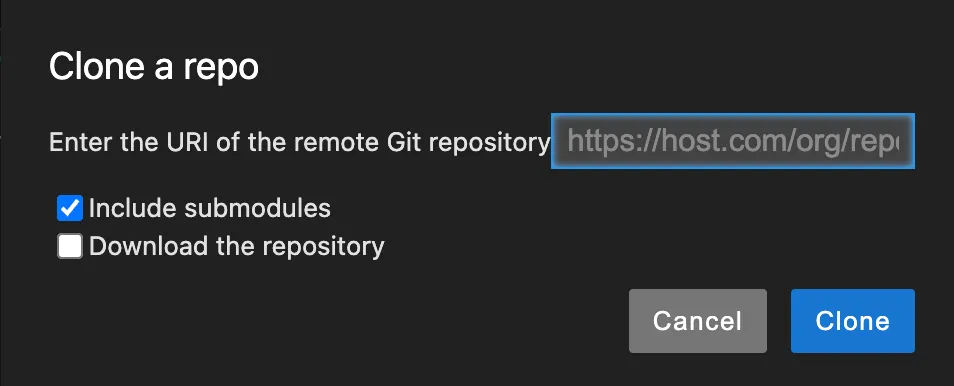
Step 4: Clone
Paste the URL and click Clone: https://github.com/paultiq/bqnt_examples
Step 5: Browse the Examples
Browse the Examples
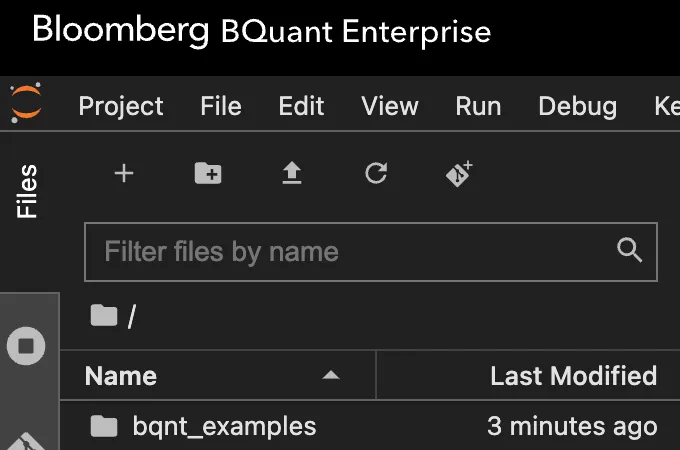
Done!
At this point, you have a folder of bqnt_examples in your Project, which you can open, explore, and run!
Alternative one-liner:
Run this command in any cell of your notebook:
!git clone https://github.com/paultiq/bqnt_examples
! means: run a shell command.